
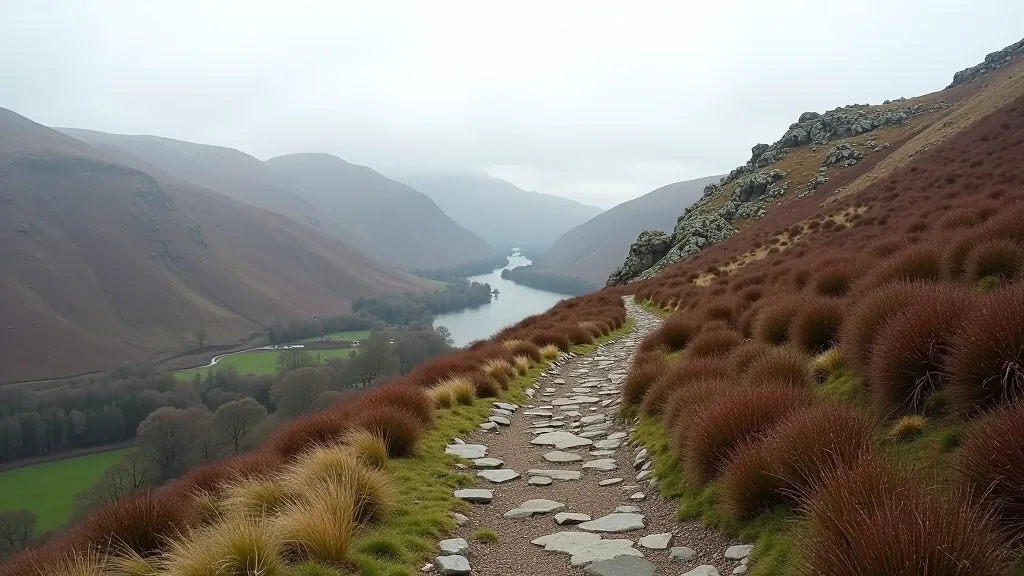

Final Thoughts
The Mountain Ridge Walk isn't for everyone, and it shouldn't be. It's a challenge route for a reason. But if you're fit, well-prepared, and respect the terrain, it's one of the most rewarding walks in the area. You'll finish with genuine pride and memories of views most people never see.
Take your time. Bring proper gear. Check conditions. And don't forget to stop halfway and just look around—you've earned it.
Safety Disclaimer
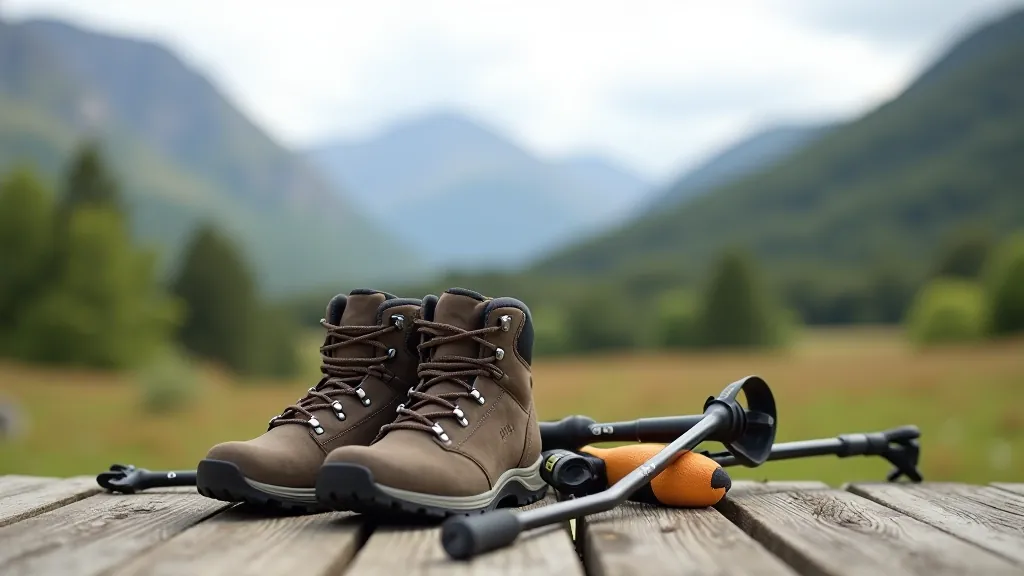
This guide provides educational information about the Mountain Ridge Walk. Hiking involves inherent risks including falls, exposure to weather, and physical exertion. You're responsible for assessing your own fitness level, checking current trail conditions, and making safe decisions. Don't undertake this walk alone. Always inform someone of your plans and expected return time. If you have health concerns, consult your doctor before attempting challenging terrain. Weather can change rapidly—bring appropriate gear and be prepared to turn back if conditions deteriorate.